Introduction
The FPGArduino project provides pre-built software tools and FPGA configuration bitstreams which transform popular FPGA development boards into microcontroller systems programmable using the intuitive Arduino development environment.Perhaps you have a spare FPGA board collecting dust in your desk drawer or on a lab shelf, but no experience with digital circuit design and programmable logic? If lurking into subjects like Verilog, VHDL, SystemC, BlueSpec or synthesis tools just made things worse, read on how to write and execute a "Hello, world!" program on your FPGA board in literally just a few clicks of the mouse!
And when you've outgrown the constraints of our pre-built FPGA configurations, move on to extending the existing or adding your own circuitry, since all the hardware and software components are open. The system is built around a CPU core which executes subsets of either RISC-V or MIPS instruction sets.
How does this work?
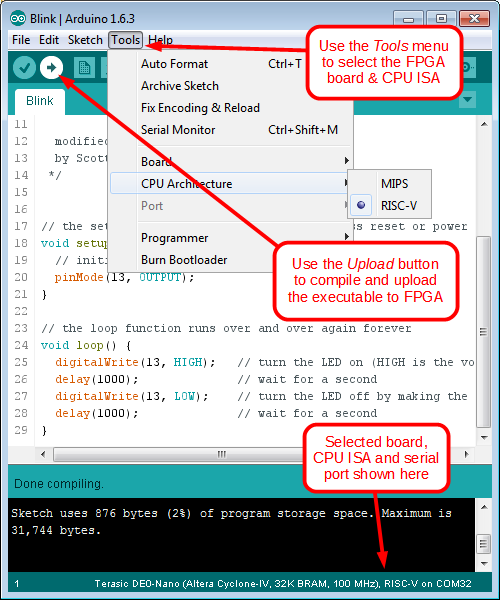
Once configured using an appropriate bitstream, the FPGA behaves as a 32-bit system-on-a-chip, executing a small bootloader which waits for a compiled binary to be received on FPGA board's serial port.Compiling and uploading a program (called a sketch in Arduino parlance, writen using a subset of C+) is straightforward, as all the platform-specific pecularities are hidden behind the Arduino IDE. The process works even on operating systems where many FPGA synthesis tools are not supported, such as OS-X, FreeBSD, or 32-bit versions of Windows and Linux. Here's how this looks like:
#include <LiquidCrystal.h>

// initialize the library with the numbers of the interface pins
LiquidCrystal lcd(28, 29, 24, 25, 26, 27);

void setup() {
  // set up the LCD's number of columns and rows:
  lcd.begin(16, 2);
  lcd.print("Hello, world!");
}

void loop() {
  lcd.setCursor(0, 1);
  lcd.print(millis() / 1000);
}
|
RISC-V or MIPS?
Our SoC is based on the f32c CPU core which was originally designed to execute a subset of the MIPS instruction set. Over the past few years this core served us well in several informal projects here at the University of Zagreb where it churned out trillions of CPU cycles, thus allowing us to iron out numerous subtle hardware bugs. The 32-bit 5-stage scalar CPU pipeline includes a branch predictor, exception handling control block, and optional direct-mapped caches. It offers decent integer performance (3.06 CoreMark/MHz, 1.63 DMIPS/MHz) while having a low LUT footprint when synthesized for modern FPGAs.During the autumn of 2014 we first became aware of the RISC-V initiative and decided to make our CPU pipeline retargetable to the new ISA. So far the f32c CPU can be configured to execute the RV32I subset of the RISC-V ISA, except performance counter accessors which we omitted as unessential. The multiplier unit, branch predictor, exception logic and caches are currently not available when the CPU is synthesized for RISC-V ISA, but we plan to gradually add support for those features as well.
To summarize, if your main concerns are stability and speed, go with the MIPS variant. If you're brave and curious enough then try out the RISC-V variant, report any bugs you may encounter, and help us improve the CPU core.
Automatic installation using Boards Manager
1) Download and install the Arduino IDE for your operating system. Versions 1.6.4 or later. If you already have a recent version there's no need to reinstall the IDE.2) Start Arduino IDE. Select pull down menu File->Preferences
Enter automatic installation URL in the field:
Additional Boards Manager URLs
http://www.nxlab.fer.hr/fpgarduino/package_f32c_core_index.json
3) Select pull down menu Tools->Board->Boards Manager
scroll down, find FPGArduino, click it and click "Install"
4) Optionally you may need to install libusb using Zadig
Manual obtaining and preparing software tools
1) Download and install the Arduino IDE for your operating system. Our Arduino FPGA cores work only with IDE versions 1.6.0 or later. If you already have a recent version there's no need to reinstall the IDE.2) Fetch a copy of the ujprog tool for downloading compiled binaries to the FPGA: Windows OSX Linux-i686 Linux-x86_64 FreeBSD-amd64. On Microsoft platforms the tool should be installed in C:\Windows, whereas on Linux and OS-X the tool should be placed in /usr/local/bin. Moreover, on Linux and OS-X the tool may require elevated execution privileges for acessing serial and USB ports, which can be accomplished by executing sudo chown root /usr/local/bin/ujprog; sudo chmod +sx /usr/local/bin/ujprog.
3) Fetch and unpack the compiler toolchain for your OS (Windows OS-X Linux-i686 Linux-x86_64 FreeBSD-amd64) so that the entire f32c tree resides in ${arduino_home}\hardware\tools, where arduino_home is the top-level directory where the Arduino IDE is installed, for example C:\Program Files (x64)\Arduino on Microsoft platforms, or /Applications/Arduino.app/Contents/Java on OS-X. Administrator privileges may be required for installing the toolchain tree.
4) Fetch a snapshot or clone our GitHub repo with Arduino definitions for FPGA cores. The contents of the unpacked arduino-master tree has to be copied in the ${arduino_home} directory, adding new platform definitions and core code. Again, administrator privileges may be required for writing over the existing Arduino installation.
Supported FPGA boards with pre-built configuration bitstreams
 |
 |
 |
 |
 |
|
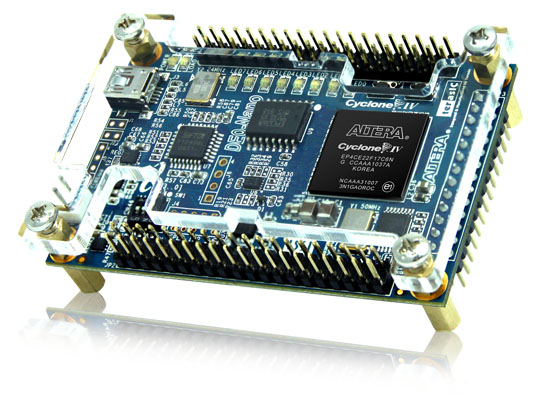
Terasic DE0-Nano (Altera Cyclone-IV) |
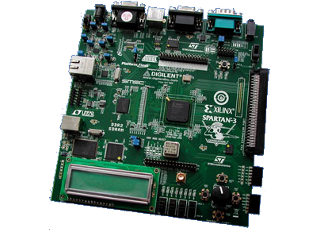
Xilinx Spartan 3E-500 Starter Kit | Xilinx Spartan 3E-1600 Dev. Board |
Xilinx Spartan 3A/3AN Starter Kit |
Digilent Basys-3 (Xilinx Artix-7) |
 |
 |
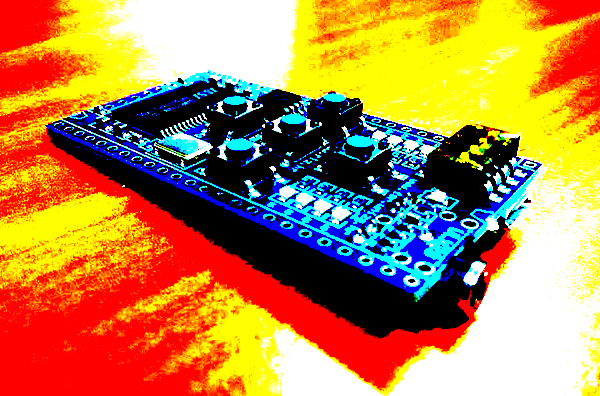 |
 |
 |
|
Digilent Nexys-3 (Xilinx Spartan-6) |
Digilent ZYBO (Xilinx Zynq) |
FER ULX2S (Lattice XP2) |
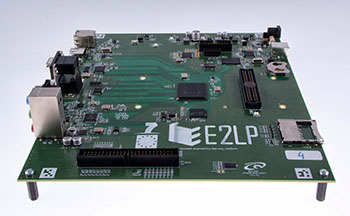
E2LP (Xilinx Spartan-6) |
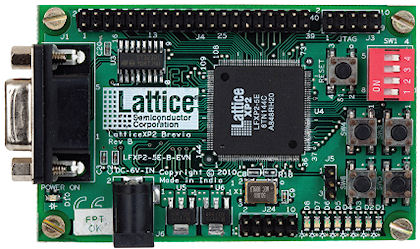
Lattice Brevia (Lattice XP2) |
 |
 |
 |
 |
 |
|
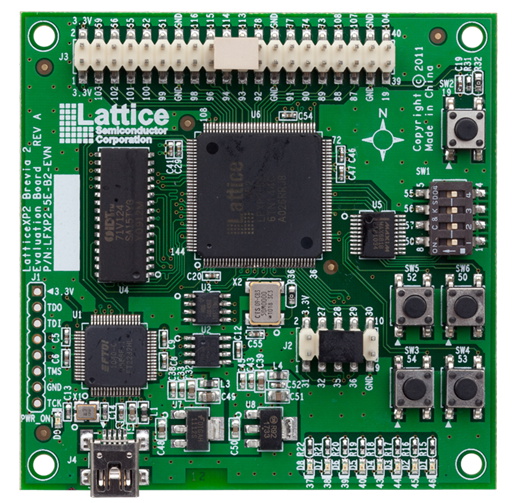
Lattice Brevia 2 (Lattice XP2) |
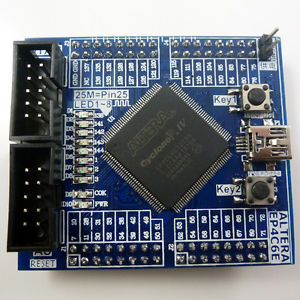
No-name TB276 (Altera Cyclone-IV) |
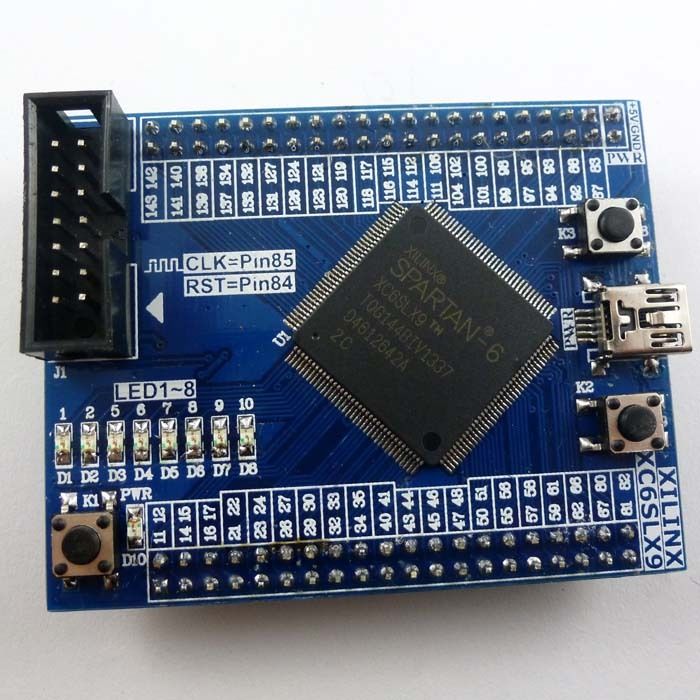
No-name TB299 (Xilinx Spartan-6) |
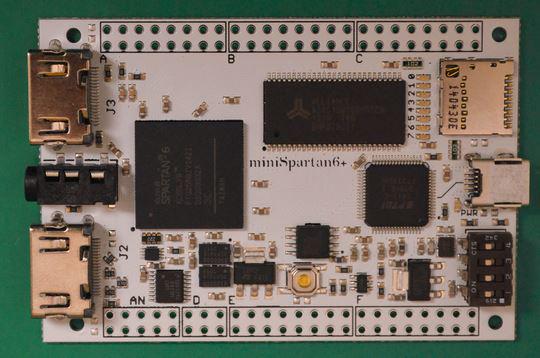
Scarab MiniSpartan6+ (Xilinx Spartan-6) |
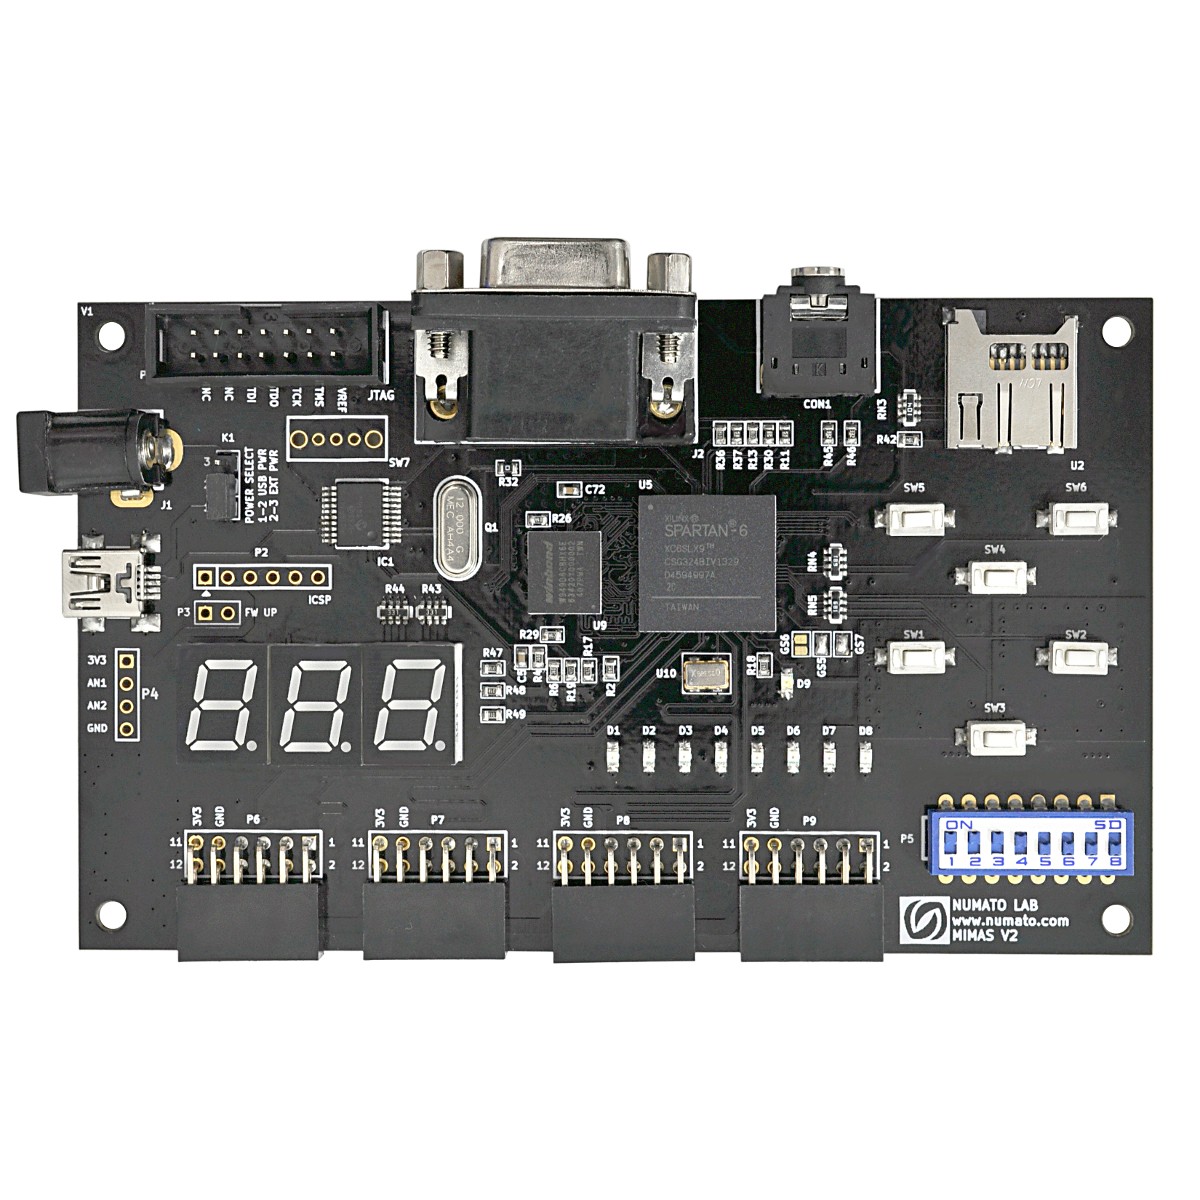
Numato Mimas V2 (Xilinx Spartan-6) |
 |
|
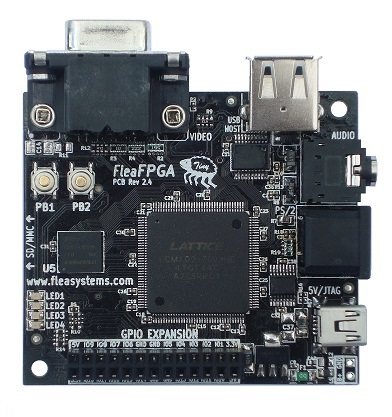
FleaFPGA (Lattice MachXO2-7000HE) |
My board isn't listed above, is there any hope?
Of course there is hope - we've built f32c SoCs for many popular FPGA targets, so there's no reason why you couldn't pick one of our examples and tailor it to your specific FPGA board. Start by fetching a snapshot or clone our GitHub repo with VHDL descriptions of the f32c CPU core and the surrounding SoC. Examples of top-level VHDL modules can be found in vendor-specific directories (rtl/altera, rtl/lattice, rtl/xilinx), the CPU core itself lives in rtl/cpu, descriptions of I/O modules reside in rtl/soc, while a generic SoC glue module along with bootloader images can be found in rtl/generic. The rtl/proj directory contains project definitions for popular FPGA synthesis tools (ISE, Vivado, Quartus, Diamond) along with board-specific I/O pin definitions (constraints).In short, all you have to do is prepare a board-specific constraints file and a matching top-level VHDL module, and create a project for your synthesis tool which will reference all the required VHDL modules. In the top-level module you might wish to instantiate a FPGA-specific frequency synthesizer hard-block if you're unhappy with your board's external oscillator frequency. Don't forget to set the C_clk_freq generic to the frequency of the synthesized clock (round it to the closest integer MHz value), otherwise the initial RS-232 baudrate won't be computed correctly and the communication with the SoC won't work. A single VHDL generic C_arch controls whether a MIPS or a RISC-V core will be synthesized.
Observing LEDs fading in groups of four is a good indicator you may have successfully ported the f32c SoC to your board. Furthermore, if you connect to the serial port (115200, N, 1) using a terminal emulator program, a bootloader prompt (m32l> or rv32>) should appear when you press the ENTER key.
If you bump into any obstacles we'd be glad to help, and definitely we'd like to hear reports on successful ports!
Input & output
On-board peripherals and external physical connectors may be mapped to Arduino logical pin numbers in a board-specific way. In general, pushbuttons and rotary knobs are mapped to logical pins 0 to 7, LEDs from 8 to 15, slide switches from 16 to 23, and character LCD (if present) to pins 24 to 31. Pin numbers from 32 upwards are typically routed as GPIO to external connectors, such as PMODs on Xilinx / Digilent boards.Except for the FER ULX2S which is our reference board, we haven't connected external RAM, SPI Flash, SD slots, VGA, DACs, ADCs or similar peripherals to the SoC, but we are willing to do so if sufficient demand arises for a specific board.
Pin enumeration details are provided just below the links to configuration bitstreams for each of the supported FPGA boards.
FPGA bitstream download
If you're running a Microsoft OS then consult your board's manual on which tools to use for downloading the bitstream to your FPGA. In general this requires using tools such as Impact or Adept for Xilinx devices, Quartus Programmer for Alteras, or Diamond Programmer for Lattice FPGAs. The exception is our reference ULX2S board which can be programmed directly using the ujprog tool.In case your PC is running Linux then downloading a bitstream to your FPGA may be as simple as selecting an appropriate Programmer option in the Tools menu of the Arduino IDE, provided that we have prepared download scripts for your specific board and that you have installed the necessary software tools. Please consult Linux-specific instructions for more details.
If you plan to run Arduino on OS-X or some other OS then your best option is to download the bitstream to FPGA's configuration flash on a Linux or Microsoft box, since afterwards the FPGA will self-configure from the flash automatically. The exception is again our reference ULX2S board where the FPGA can be programmed directly using ujprog even on OS-X and FreeBSD.
Similar projects
Papilio DesignLab IDEZPUino
Arduino-1.5.2 on Pipistrello
Authors
We have presented a preliminary version of the FPGArduino software / hardware stack during the Arduino day at the University of Zagreb on March 28th 2015. The image gallery includes a few snapshots of both our FPGA boards with Arduino IDE in action, and two bald middle-aged freaks talking, that's us!zec (at) fer.hr
vordah (at) gmail.com